In this post, I will walkthrough installing Oracle VirtualBox on a Windows 11 laptop. VirtualBox is a general-purpose full virtualization software package targeted at laptop, desktop, server, and embedded use. As of this writing, the latest version is VirtualBox 7.1.6. If you install a different versions, the steps and screen shots may differ. VirtualBox can be found at virtualbox.org.
Let’s Get Started
Using your favoriate web browser, browse to virtualbox.org.

Click the Download button.
For this article, I will be installing Oracle VirtualBox on Windows. If you choose another operation system, you may have to make adjustments in the following steps.

Click the Windows hosts link.

Once VirtualBox-7.1.6-167084-Win.exe is downloaded, double-click on the VirtualBox-7.1.6-167084-Win.exe file.
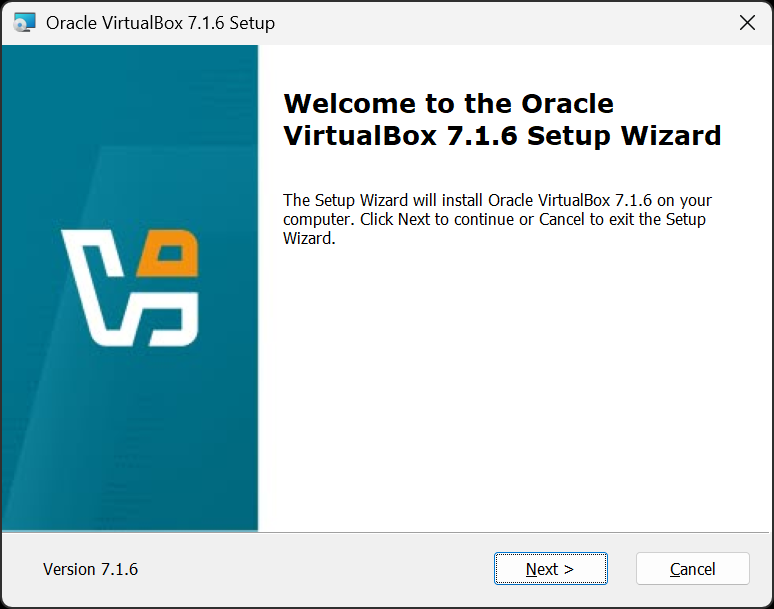
On the Welcome to the Oracle VirtualBox 7.1.6 Setup Wizard dialog, click Next.
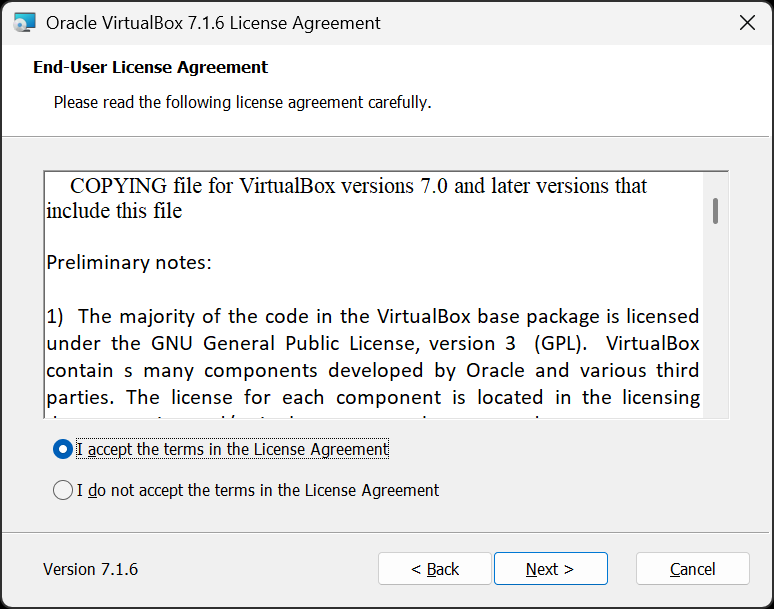
On the Oracle VirtualBox 7.1.6 License Agreement dialog, read through the End-User License Agreement. Select the I accept the terms in the License Agreement radio button. Finally, click Next.
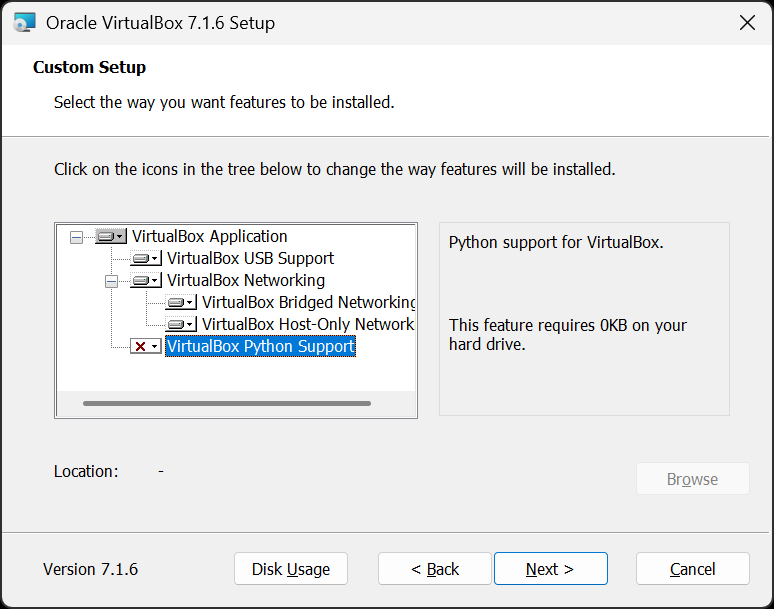
On the first Custom Setup dialog, deselect VirtualBox Python Support, then click Next.
If you need VirtualBox Python Support and know how to use this feature, you can leave it selected.
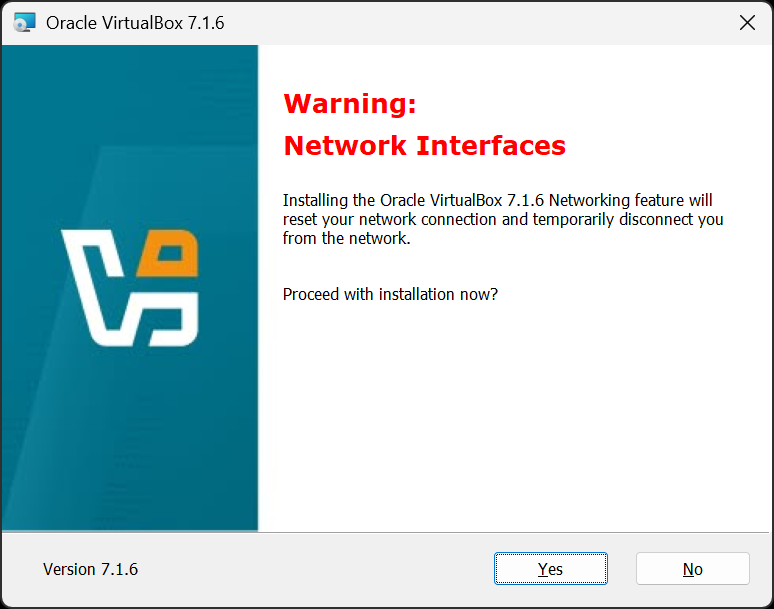
On the Warning: Network Interfaces dialog, click Yes.
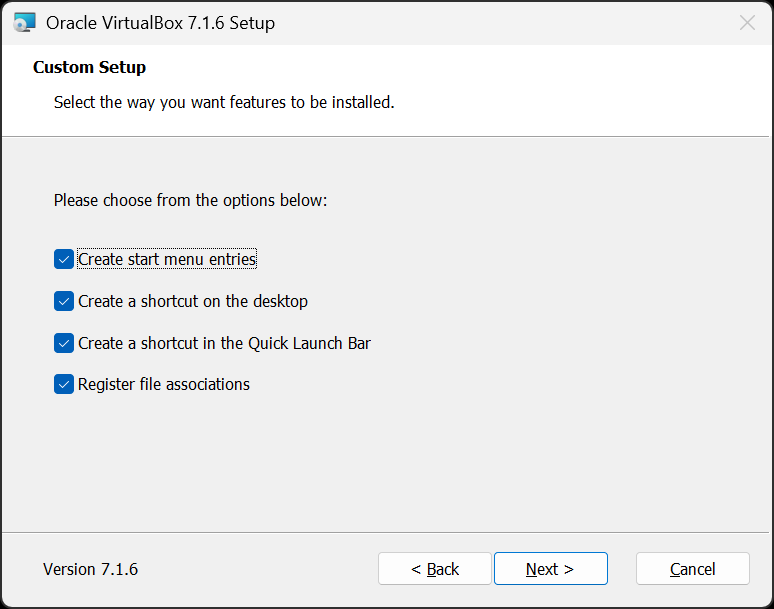
On the second Custom Setup dialog, leave all the options checked, then click Next.
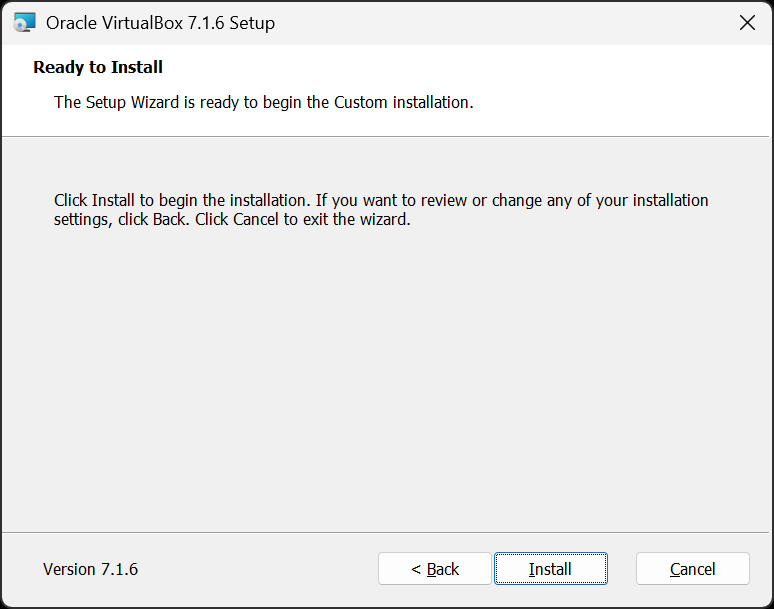
On the Ready to Install dialog, click Install.

Oracle VirtualBox 7.1.6 will begin to install. it will take a few moments to install. Wait until installation is complete.
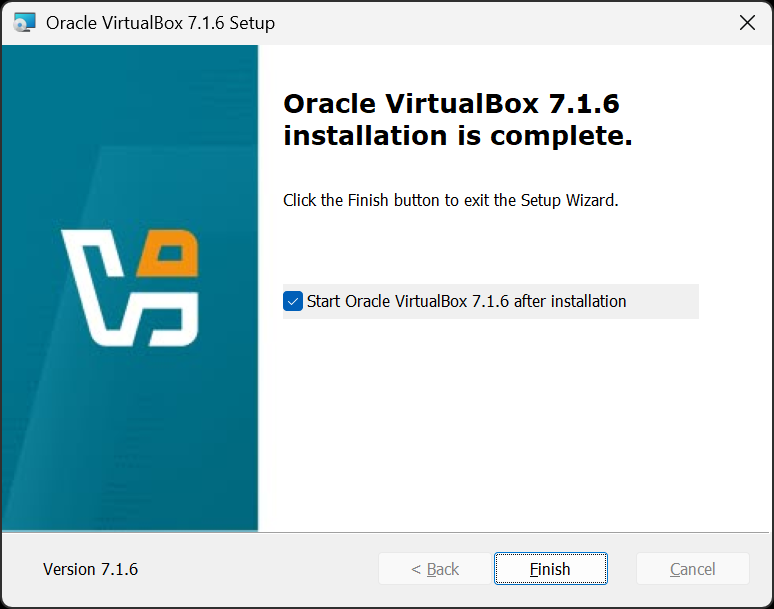
On the Oracle VirutalBOx 7.1.4 Installation Is Complete dialog, click Finish.
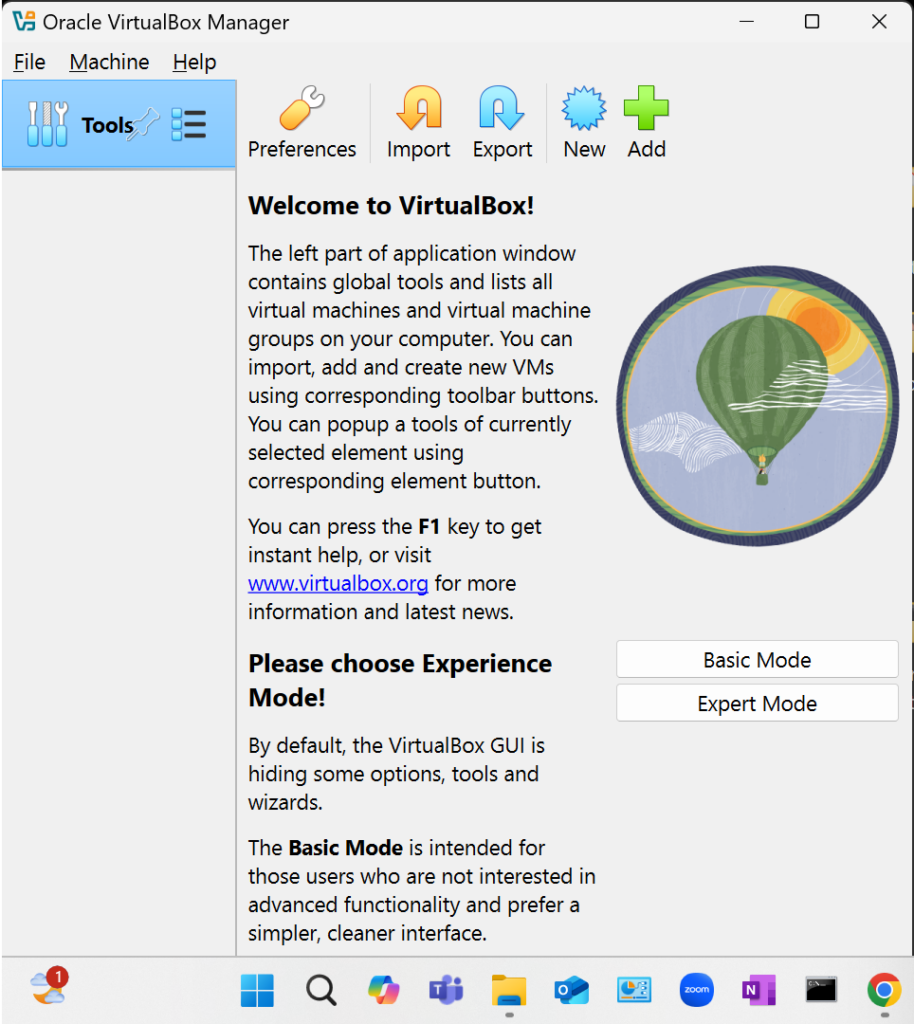
The Oracle VirtualBox Manager Welcome to VirtualBox (Basic/Expert selection) dialog should open. Click Basic Mode.
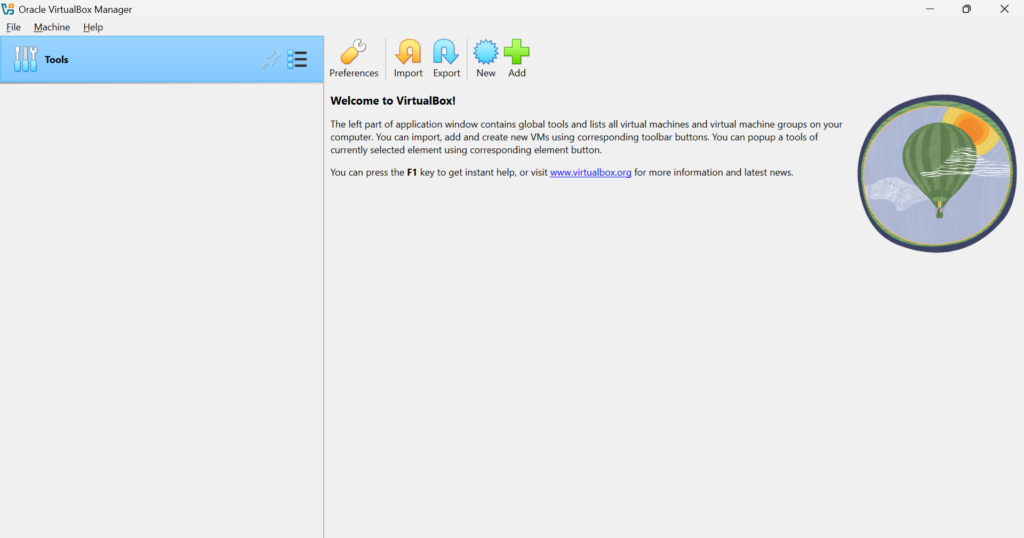
The Oracle VirtualBox Manager Welcome to VirtualBox (Basic) dialog should open.
You can alway switch between Basic Mode and Expert Mode by clicking on the File menu, then selecting Preferences, then …
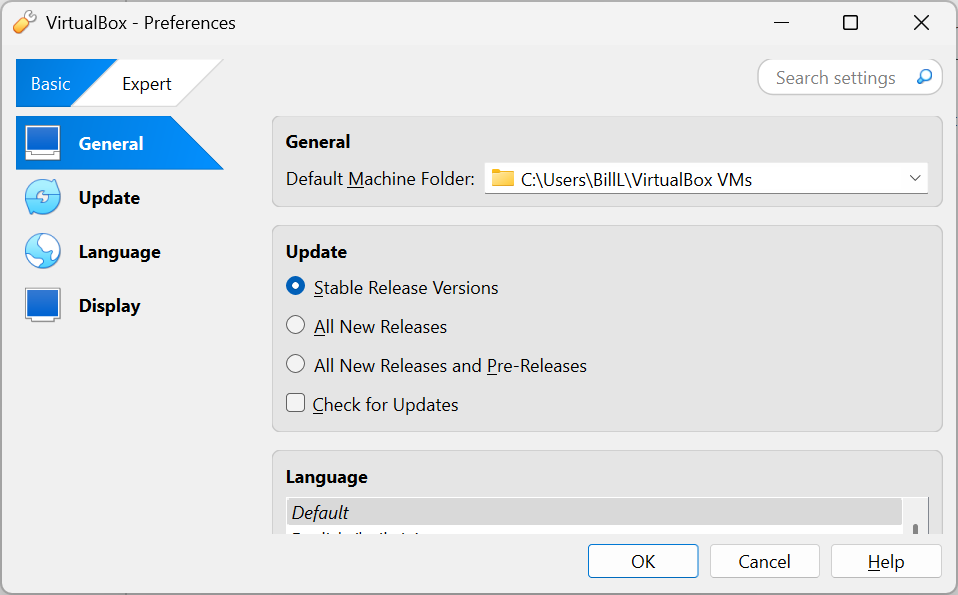
On VirtualBox Preferences dialog, click on either Basic or Expert mode, then click the OK button.
Next time, we’ll look at creating an Ubuntu virtual machine with VirtualBox.